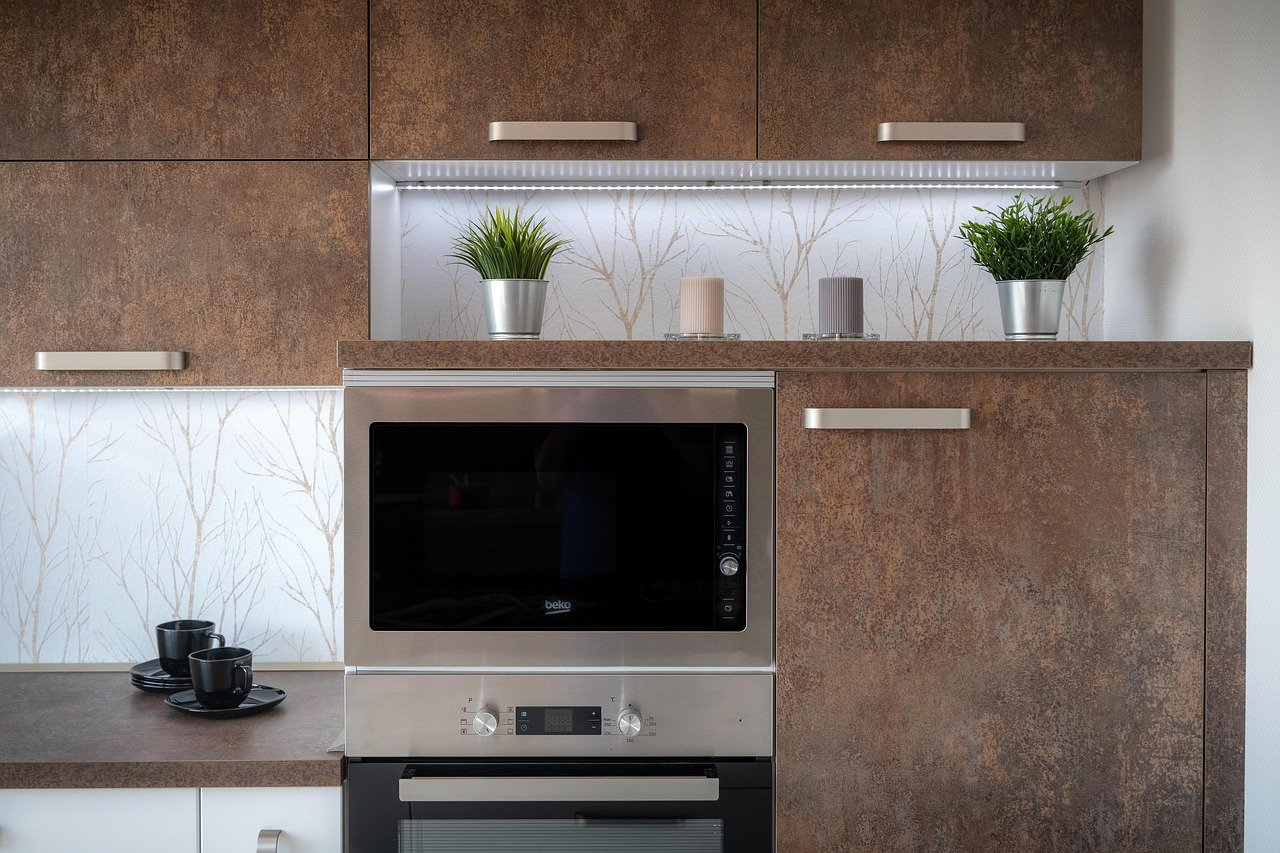
Painting kitchen cabinets can change the feel of a room without replacing the cabinets. But the doors and drawer fronts face frequent handling, cooking residue and repeated cleaning. A fresh coat that looks smooth on day one may not stay that way if paint is applied over grease, a slick finish or an incompatible primer.
The key is to treat cabinet painting as a preparation and drying project, not simply a color change. The exact products and wait times depend on the surface and the paint system, so follow the labels for the specific cleaner, primer and topcoat you choose.
First, check what you’re painting
Cabinet doors may be solid wood, wood veneer, laminate or a factory-applied coating. These surfaces do not all accept paint in the same way. Look for peeling or bubbling, swollen edges, loose veneer and other damage before starting. Paint is not a substitute for repairing a failing surface.
Try to identify the existing finish and read the paint manufacturer’s guidance for that material. If you cannot tell what the surface is, test your proposed cleaning, sanding and priming method in a small, inconspicuous spot. A bonding primer may be appropriate for some hard-to-coat surfaces, but no product can compensate for a dirty or unstable base.
There is also a safety question in older homes. In the United States, paint in homes built before 1978 may contain lead. Sanding or scraping lead paint can create hazardous dust. The U.S. Environmental Protection Agency advises using certified lead-safe professionals for covered renovation work that disturbs lead-based paint. Check local requirements and get appropriate advice before disturbing an older finish.
Make a work plan before removing doors
Choose a ventilated work area where doors can rest flat and stay undisturbed. Keep dust, pets and cooking activity away from wet finishes. Check the product label for ventilation, protective equipment, temperature limits and drying conditions. Some products call for particular precautions or may not be suitable for the room or surface you have.
Before taking anything apart, label each door and its matching cabinet opening. A small piece of tape on the back can help preserve the order. Photograph the hinges and hardware, then remove doors, drawers, pulls and knobs. Set screws and hinges aside in labeled containers. Removing hardware gives you access to edges and avoids painting moving parts.
Clean before sanding
Kitchen cabinets collect grease and hand oils, especially around handles, near the stove and along drawer edges. Wiping away visible dust is not enough. Clean every surface you intend to paint with a product suitable for the cabinet material, following its directions. Rinse if the cleaner’s label calls for it, then let the surface dry fully.
Cleaning first matters because sanding a greasy surface can spread residue rather than remove it. After cleaning, lightly scuff a sound, previously coated surface only if the product instructions call for it and it is safe to do so. The aim is to prepare the finish, not to grind through it. Avoid sanding unknown old paint until you have assessed the lead risk. Remove dust carefully before priming.
Prime for the surface, not just the color
Primer helps create a suitable base for the topcoat, but the right choice depends on what is underneath. Bare wood, a slick factory finish, stains and previously painted surfaces can call for different approaches. Read the primer label and verify that it is intended for both the surface and the paint you plan to use. If a manufacturer specifies a matching system, follow that recommendation.
Apply a thin, even coat rather than trying to hide every mark in one pass. Pay attention to exposed edges and corners, where missed spots can become weak points. Let the primer dry for the time stated on its label; “dry to touch” does not necessarily mean it is ready for the next coat. If the product directions call for a light sanding between coats, use that guidance and remove the resulting dust.
Build the finish in careful coats
Use a brush or roller suited to the paint and the shape of the doors. Work methodically, keeping coats even and avoiding heavy buildup around corners, profiles and hinge recesses. Several thinner coats, when the product system calls for them, are generally easier to control than one thick coat. Respect the labeled recoat time rather than relying on how the surface feels at a glance.
Lay doors flat when practical, especially if the paint label or cabinet manufacturer recommends it. Keep them in a clean, protected place while they dry. Do not stack painted parts or wrap them in a way that traps moisture unless the product directions specifically allow it.
Give the paint time before putting the kitchen back together
Paint may be dry enough to handle before it has reached its full hardness. Reinstalling doors too soon can leave marks, stickiness or impressions where surfaces touch. Use the product’s stated cure guidance, and be gentle with the cabinets during the early period after reassembly. Avoid scrubbing the new finish until the manufacturer says it is ready for cleaning.
When the job is finished, keep a small amount of correctly labeled leftover paint for future touch-ups, and follow local rules for storage or disposal. The most reliable-looking cabinet transformation is often the one that takes the time to clean, test, prime and wait. A careful schedule may feel slower than painting everything in a weekend, but it gives each layer a better chance to do its job.