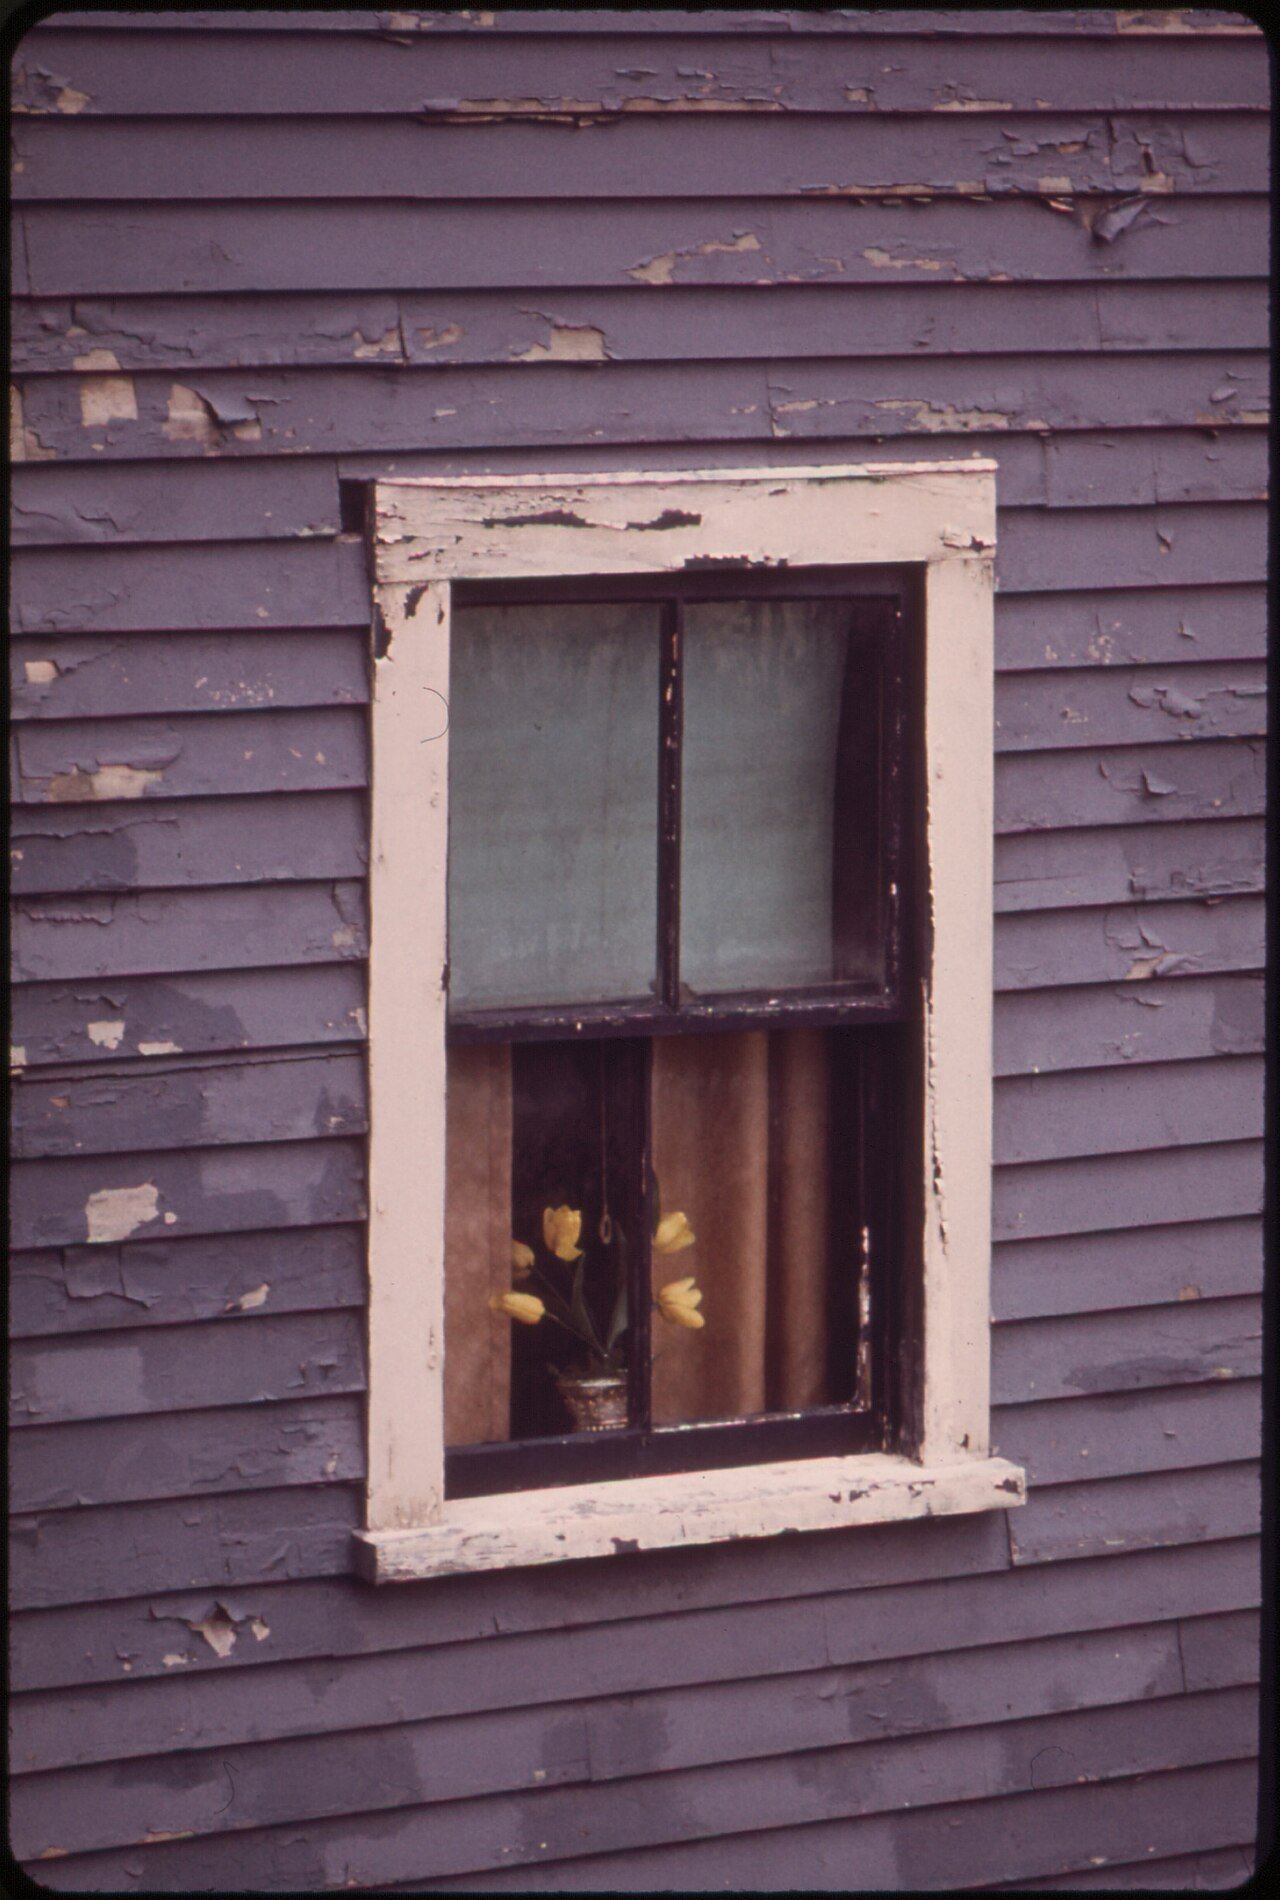
Peeling paint can make a house look overdue for care. The tempting fix is to scrape off the loose bits and cover the rest with a new coat. But if moisture is getting into the wood, or the old surface was not prepared properly, the new paint may fail too.
A longer-lasting repair starts with a small investigation. The National Park Service’s guidance on exterior paint problems in historic woodwork highlights moisture, surface condition and application as factors that can affect paint performance. The details vary by building and product, but the lesson applies broadly: repainting works best when you understand what the existing paint is telling you.
Start by looking for a cause
Check where the paint is failing, not just how much is missing. Is it peeling near a gutter, below a window, around a joint, or close to the ground? Look for nearby signs of water entry, such as a leaking gutter, a downspout discharging beside the wall, cracked caulk, or a window sill that holds water. These are clues to investigate, not proof of a particular cause.
Also inspect the wood. Soft, swollen or visibly decayed sections need more than paint; paint cannot restore damaged wood. If you find a persistent leak, widespread rot or a building detail you cannot assess safely, address that problem or get appropriate professional help before repainting.
Take note of the pattern of failure. Blisters, cracks, flaking and peeling can have different causes, and several may be present at once. Avoid treating every symptom as a simple adhesion problem. The EPA’s home guidance on mold and moisture makes the related point that controlling the water source is central to preventing moisture problems from returning. Paint is a finish, not a water-management system.
Choose the repair area carefully
Once the likely cause has been addressed, decide how much paint to remove. If only a few areas are loose, you may be able to scrape those sections and prepare the edges so they blend into sound paint. If large areas are lifting, or the surface is cracked and failing in many places, a patchwork repair may not hold up. The right scope depends on the condition of the surface and the paint system already there.
Scrape only paint that is loose or poorly attached. Do not keep scraping sound paint just to reach bare wood everywhere: that can turn a manageable job into a much larger one. Feather the edges of remaining paint so there is not a sharp ridge under the new coat. Then clean the surface using a method suitable for the material and the product instructions, and let it dry fully before priming or painting.
Older coatings deserve extra caution. In the United States, renovation work that disturbs paint in many pre-1978 homes is subject to federal lead-safe requirements. If you do not know what a coating contains, avoid dry sanding or other dust-producing work until you have checked the relevant local rules and safety guidance. Requirements differ by country and region.
Give primer and paint the conditions they need
Primer is not a substitute for removing loose paint or repairing a leak. It can, however, help prepare exposed wood and provide a suitable base for the chosen topcoat. Use a primer intended for the surface and compatible with the paint you plan to apply. Follow the product label about preparation, coverage and drying.
Weather matters. A surface can look dry while holding moisture, and cool nights, dew or rain can interfere with a new coating. Check the forecast as well as the label’s requirements for temperature, humidity and time without rain. Because products differ, there is no single temperature or waiting period that fits every exterior paint job.
Use the recommended number of coats and allow the stated drying time between them. Applying paint too thickly or recoating too soon can create problems rather than save time. Work in manageable sections, and keep a record of the product used and the conditions when you applied it. That information can help if you later need to touch up or diagnose a failure.
A practical repainting checklist
- Inspect: Map the peeling and look for nearby water-entry points, damaged wood and other visible defects.
- Fix the source: Repair the leak or drainage problem before covering the surface.
- Prepare safely: Remove loose paint, smooth the edges, clean the surface and follow local rules for older coatings.
- Prime where needed: Match the primer to the exposed material and the finish coat.
- Check conditions: Follow the label for surface dryness, weather, application and recoating.
A repaint can improve appearance and protect a sound surface, but it cannot make damp wood dry or sound. Taking time to find the cause may mean more work before the brush comes out. It can also help prevent the familiar cycle of scraping, repainting and watching the same area peel again.