A packet of spring bulbs can promise an impressive display, but the planting decisions happen months before the flowers appear. Good results depend less on elaborate techniques than on matching bulbs to the site, planting them at a suitable depth and letting their leaves finish their work after flowering.
The calendar varies around the world. In places with cold winters, many spring-flowering bulbs are planted in autumn, while the soil is still workable. In warmer regions, some bulbs may need a period of chilling or may not suit the local climate at all. Check the instructions for the particular bulb and advice from a regional horticultural service rather than relying on a date that applies somewhere else.
Start with the site, not the planting hole
Most popular spring bulbs do best in soil that drains reasonably well. A spot that stays waterlogged can leave bulbs vulnerable to rot. Watch the garden after rain: if water sits in a bed for a long time, choose a better-drained area or improve the planting site before putting bulbs in. Containers need drainage holes, too.
Then consider light. Bulbs that flower early in spring can be useful beneath deciduous trees: they may receive sun before the canopy fills in. But conditions differ among species, so check whether your chosen bulbs prefer sun, partial shade or another setting. The label should also explain whether a bulb is hardy where you live.
Buying sound bulbs is a useful first step. Choose firm bulbs without obvious soft, moldy or badly damaged areas, and plant them promptly rather than leaving them exposed to heat or drying air. If you cannot plant them right away, follow the seller’s storage advice; bulbs do not all have identical needs.
How deep should bulbs go?
A common starting point is to plant a bulb at a depth of about two to three times its own height, measuring from the soil surface to the bulb’s base. That is a guide, not a substitute for the directions supplied for a particular species or variety. Small bulbs and unusually shaped bulbs may need different treatment.
Set most bulbs with the growing point facing upward. If it is difficult to tell which end is the top, place the bulb on its side; shoots can usually find their way upward. Space bulbs according to their eventual size and the effect you want. A loose, natural-looking group can be more convincing than an even row, while a dense display may call for closer spacing—provided the bulbs are not crowded beyond the recommendations on the package.
Dig a hole or a wider planting area, arrange the bulbs, then cover them with soil and water if the ground is dry. For a large number of bulbs, preparing a whole bed or a group-shaped area can be easier than making many individual holes. Keep track of where you plant them so you do not accidentally slice through them when digging later.
Make a display that looks natural
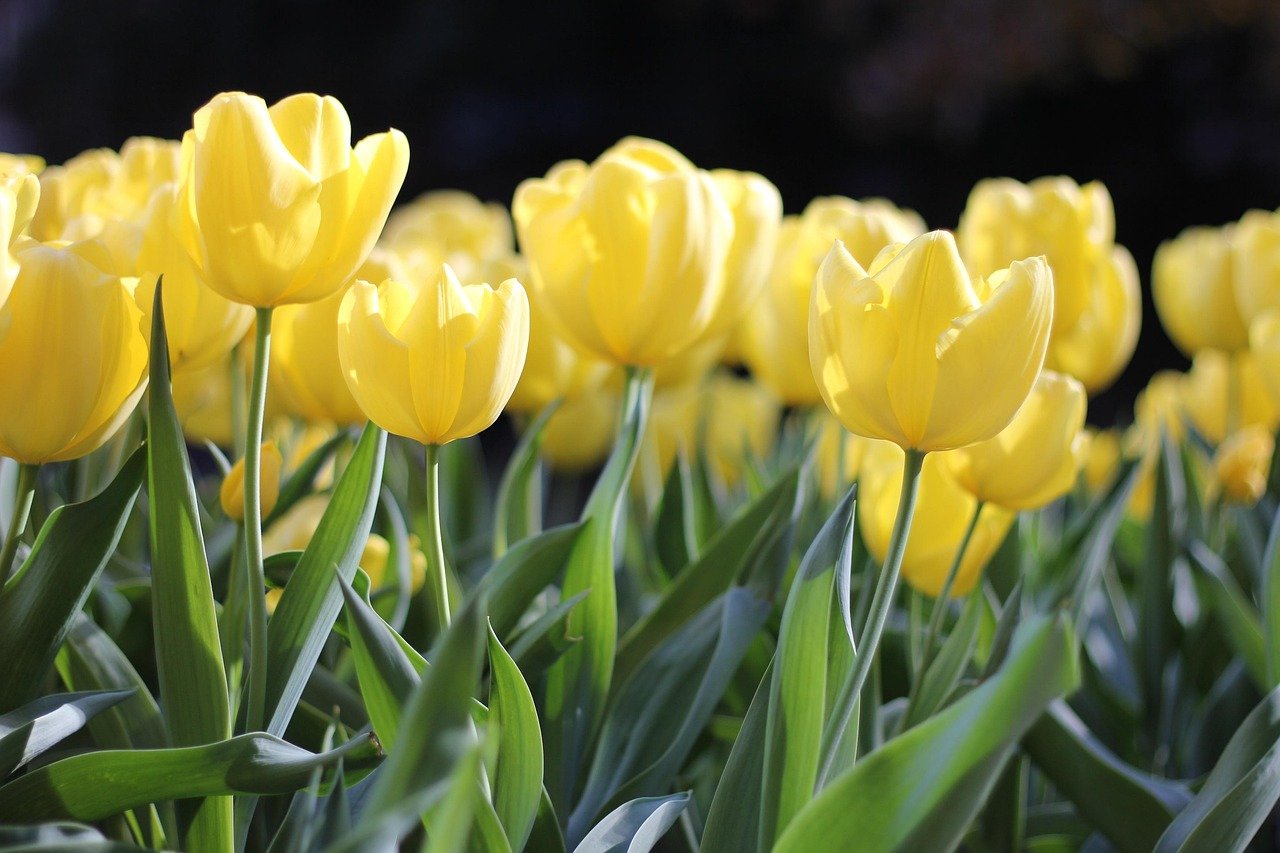
One design choice is whether to plant a single variety in a concentrated drift or mix several kinds. A drift can create a strong patch of color. A mix can extend the flowering period if the varieties bloom at different times, but their timing will depend on the local weather and growing conditions. Bulbs in lawns or beneath trees can look informal; check that the site is suitable and that mowing will not begin before their foliage has had time to die back.
For containers, layer bulbs with different planting depths only when their growing requirements are compatible and the pot is deep enough. Use a free-draining potting mix and a container with drainage holes. A pot may dry out or freeze differently from a garden bed, so it can need more attention than bulbs planted in the ground. In severe winters, some containers may need protection or a more sheltered position.
After flowering, leave the leaves
When flowers fade, remove the spent flower heads if you want to prevent seed formation, but resist the urge to cut, braid or tie up the foliage. Green leaves continue to gather energy that helps the bulb prepare for another growing season. Let them yellow and die back naturally before removing them.
This wait can be the least tidy part of growing bulbs, especially in a visible border. Planting bulbs among later-emerging perennials can help: as the bulb foliage fades, the other plants may fill the space. Avoid planting so densely that you cannot see or care for the bulbs, and mark their location if you plan to rework the bed.
Some bulbs multiply or return reliably in suitable conditions; others may perform differently from year to year. Flowering can be affected by climate, soil, pests, disease and the bulb variety. If a group dwindles, check whether the site has become too shaded or wet, whether the foliage was removed too early, and whether the bulbs are suited to local conditions before simply adding more.
A small plan can save a season
Before planting, read the bulb label, check local timing and note the site’s drainage and light. Follow the recommended depth and spacing, then give the foliage time to finish after flowering. These modest steps make bulb planting less of a guessing game—and give each planting a better chance to become a recurring part of the garden rather than a one-season surprise.